How to Repair a Chipped Spyderco Edge Without Ruining the Blade
This is the 45th blog of the Spyderco blog series. You can check the other blogs I wrote from here – https://spymodz.com/blogs
Author: Logan M. Fraser
Occupation: Custom Knife Modder & Spyderco Parts Specialist
Location: Calgary, Alberta, Canada
A chipped Spyderco blade can be frustrating, especially if it’s your favorite EDC or outdoor companion. Whether it happened from an unexpected impact, cutting hard materials, or just normal wear, a chipped edge doesn’t mean your knife is ruined. With the right technique and a bit of patience, you can restore your Spyderco’s edge without compromising the blade’s integrity. Over the years, I’ve repaired countless chips for clients and enthusiasts, and I’ve learned how to approach each repair method carefully.
In this guide, I’ll show you step-by-step how to fix a chipped Spyderco blade, including tools, techniques, and tips to maintain the knife’s performance and appearance. I’ll also explain when using replacement parts from SpydercoParts.com can make the process smoother.
Why Edge Repair Matters 🔪
Your knife’s edge determines cutting efficiency, safety, and overall enjoyment. Ignoring a chip can lead to:
Reduced cutting performance
Increased risk of further chipping
Unsafe handling due to jagged edges
Restoring the edge ensures that your knife functions as designed, maintains your control during use, and extends the life of the blade.
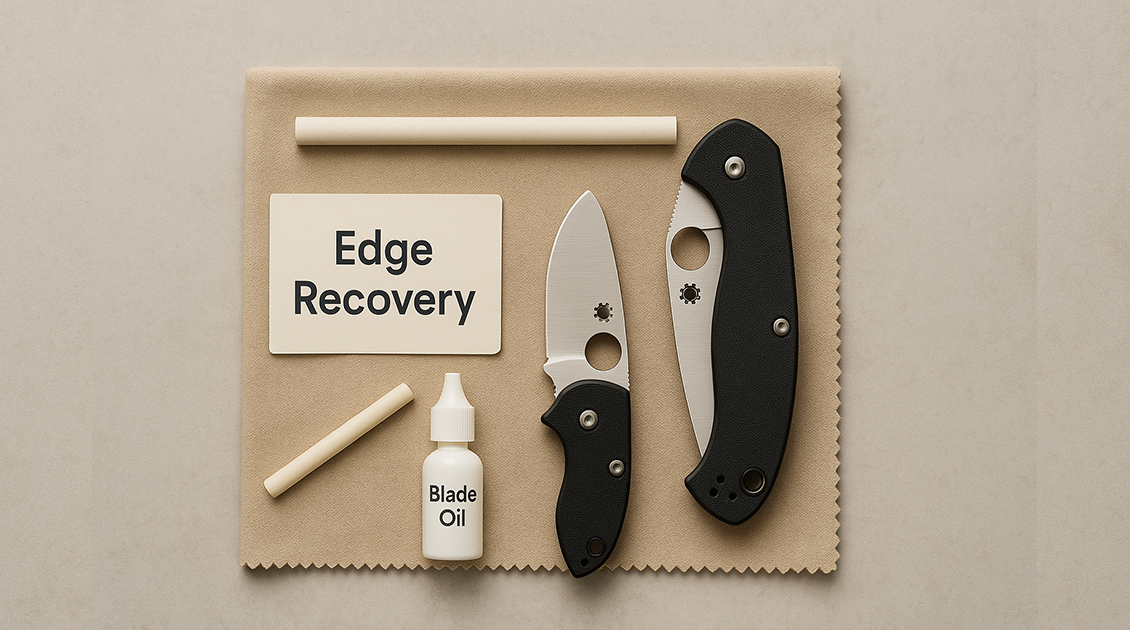
Tools You’ll Need 🛠️
For a clean, safe repair, I always keep the following on hand:
Diamond sharpening stones (coarse to fine grit)
Ceramic rods or honing rods for finishing
Bench vise or clamping device
Protective gloves and eye protection
Marker or pen for marking the damaged area
Optional: Replacement edge or premium Spyderco blade (https://spymodz.com)
🔗 Why this link matters: Spyderco replacement blades are precision-engineered for your model, ensuring consistent performance when a repair isn’t enough.
Step-by-Step Guide: Repairing a Chipped Edge ⚙️
1. Assess the Damage
Inspect the chip carefully. Small chips can often be repaired with standard sharpening techniques, while large or deep chips may require partial stock removal or a replacement edge.
💡 Pro Tip: Use a marker to outline the damaged area. This helps you visualize how much material you need to remove and prevents over-sharpening.
2. Secure the Knife
Clamp your Spyderco in a bench vise or use a non-slip surface to prevent movement. Safety is crucial—working with a moving blade can easily result in injury.
3. Remove the Chip
Using a coarse diamond stone or file, start at the chip and work along the blade bevel. Apply consistent, light pressure, and maintain the original factory edge angle (typically 20°–25° for Spyderco knives).
Work gradually—removing too much material at once can ruin the blade profile.
4. Refine the Edge
After the chip is removed, switch to medium and fine grit stones. This step smooths the bevel and restores cutting efficiency. If you have ceramic rods or strops, use them for the final polish.
5. Check Blade Geometry
Ensure that the blade’s flat and bevel meet properly. Misalignment can create weak spots that may chip again. Adjust angles if necessary to maintain Spyderco’s original cutting performance.
6. Optional: Replace the Blade
If the chip is too severe, or if the blade is worn beyond practical repair, a replacement Spyderco blade can be installed (https://spymodz.com). This guarantees factory edge consistency and saves hours of grinding.
Common Mistakes to Avoid ❌
Over-grinding: Removing too much metal can shorten blade life and compromise balance.
Ignoring the bevel angle: Maintaining factory angles ensures efficient cutting and reduces future chipping.
Skipping finishing steps: Polishing the edge reduces friction and prevents the blade from snagging during use.
Maintenance Tips Post-Repair 🧼
Hone or strop the blade regularly to maintain a sharp edge.
Avoid cutting extremely hard materials that exceed the blade’s designed use.
Store the knife properly to prevent accidental damage.
Consider premium Spyderco washers or pivot parts (https://spymodz.com) for smooth, consistent action after heavy use.
Real-World Experience 🧤
I remember repairing a client’s PM2 that had a large chip from a dropped rock during camping. By carefully removing the damaged portion and refining the edge, we restored the knife to nearly factory sharpness without shortening the blade unnecessarily. Small, patient steps are always better than rushing.
Sources & Further Reading 📚
Spyderco forums: https://forum.spyderco.com — community advice on edge repair
Knife sharpening guide: https://knifepivotlube.com — includes techniques for bevel maintenance
These resources support the techniques described and offer additional insights from experienced modders and knife enthusiasts.
Wrapping It Up
Repairing a chipped Spyderco edge doesn’t have to be intimidating. With the right tools, careful technique, and occasional use of replacement parts, your knife can perform like new again. The key is intentional, precise repair—never rush the process, respect the blade’s geometry, and take the time to finish properly.
This blog is part of my ongoing Spyderco series, sharing hands-on modding experience and practical upgrades. Browse the rest of the series here: https://spymodz.com/blogs
Have a question about edge repair? Drop it in the comments—I reply personally. And tell me what you’d like to learn next week: detent tweaks, pivot upgrades, or sharpening hacks? Let me know. 👇