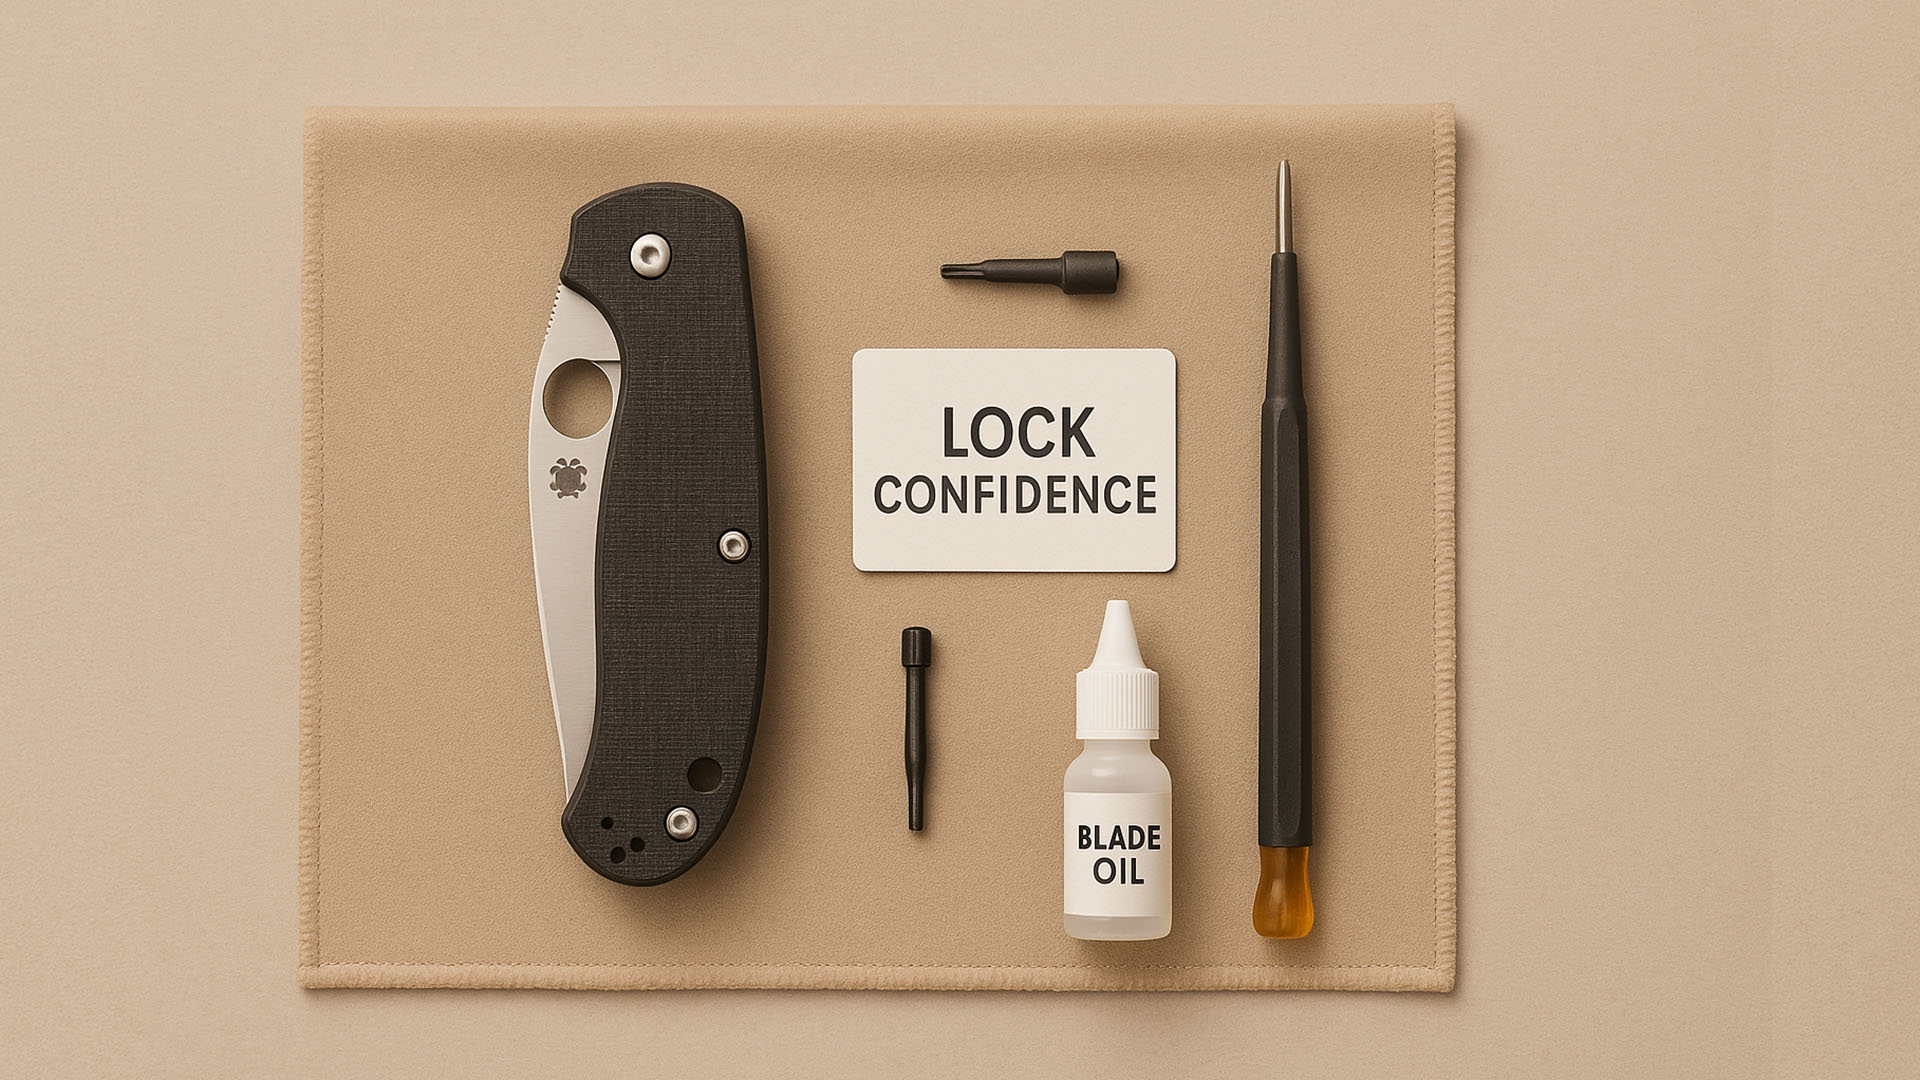
How to Adjust Your Spyderco Lockbar for a Tighter, More Secure Lock
This is the 35st blog of the Spyderco blog series. You can check the other blogs I wrote from here – https://spymodz.com/blogs
By Logan M. Fraser
Custom Knife Modder & Spyderco Parts Specialist
Based in Calgary, Alberta, Canada
A loose or inconsistent lockup on a Spyderco knife can be more than just an annoyance—it’s a potential safety issue. If your lockbar doesn’t engage fully or rattles under pressure, it’s time to address it. In this guide, I’ll walk you through how to adjust your Spyderco lockbar for a tighter, more secure lock. 
As a full-time modder working primarily on Spyderco builds, I’ve had to correct dozens of knives that left the factory with light lockup or broke in poorly. This article will help you:
-
Understand why lockbars lose tension or bite
-
Identify what type of lock you’re working with
-
Make simple, effective adjustments at home
-
Know when to replace or upgrade parts
Let’s get your lock dialed in.
Step 1: Identify Your Lock Type
Not all lockbars are adjusted the same way. Here are the major types used by Spyderco:
-
Liner Lock – Thin lock bar integrated into the liner. Common in Para 3 Lightweight.
-
Frame Lock – Lock bar is part of the handle frame. Seen in SpydieChef and Slysz Bowie.
-
Compression Lock – Uses a leaf spring on the spine to wedge against the tang. Seen on PM2, Yojimbo 2.
-
Back Lock – Spring tensioned rocker arm. Used in Endura/Delica lines.
This article focuses on liner, frame, and compression locks—since those are the ones most affected by tension and bite.
Step 2: Safety First 
Before tweaking your lockbar:
-
Make sure your knife is disassembled safely.
-
Remove the blade if possible.
-
Wear safety glasses during bending or heat treatment steps.
You’ll need:
-
Torx drivers (T6, T8)
-
Brass rod or dowel (for prying)
-
Bench vise (optional)
-
Heat gun or lighter (if doing stress-relief)
Step 3: Tightening a Liner or Frame Lock
Over time, liner and frame locks can travel too far across the blade tang, creating a shallow or loose lockup.
Method 1: Re-bend the Lock Bar
-
Disassemble your knife.
-
Clamp the liner/frame carefully in a vise (rubber pads help).
-
Use a brass rod to gently bend the lockbar inward toward the opposite liner/frame.
-
Reassemble and test lockup.
 Goal: You want earlier engagement (30-50%) with firm pressure.
Method 2: Lockface Tuning
If the tang surface is too polished or worn, you can:
-
Use a ceramic rod to lightly add texture
-
Apply a pencil (graphite) sparingly—not recommended long-term
-
Degrease and leave dry for maximum bite
Replacement lockbar inserts are available for some models—check https://spymodz.com for availability if yours is replaceable.
Step 4: Fixing Sticky or Weak Compression Lock
Compression locks rely on spring tension. You might be facing either:
-
Sticky lock: Over-engagement or burrs
-
Weak lock: Poor spring tension or tang geometry
Fix Sticky Lock:
-
Disassemble and inspect the lock tab.
-
Use a ceramic stone to gently polish burrs on the lock face.
-
Clean with alcohol—no lube on the lock face.
Strengthen Lock:
-
Slightly bend the lock tab inward using padded pliers.
-
If your spring is weak, replacement parts (or a donor model) may help.
Remember: Over-bending can make the knife hard to close—go slow, test often.
Step 5: Replace Worn or Out-of-Spec Parts
If the lockup still feels off after adjustments, it might be time to swap components:
-
Blade tangs can wear or round off
-
Lockbars may develop fatigue or cracks
-
Stop pins that shift cause inconsistent lock geometry
You can source model-specific replacement parts at https://spymodz.com—organized by model for easier matching.
Pro tip: If you’re seeing lock stick or lock rock even with new parts, try a very light layer of dry lube like CRK fluorinated grease—but only if you’ve ruled out burrs.
Step 6: Test and Break-In 
After adjusting:
-
Open/close the knife 30–50 times.
-
Check for consistent lockup.
-
Ensure no up/down play under mild pressure.
-
Listen for clean lock engagement clicks.
If the knife passes the test, congrats—your lockbar is tuned.
Common Lockbar Myths Debunked
-
“You can’t bend titanium lockbars” – You can, carefully.
-
“Lock stick means it’s unsafe” – Not always. Sometimes it’s just burrs or over-polish.
-
“Later lockup is stronger” – Early lockup with full contact is better.
Prevent Future Lock Issues
To extend the life of your lockbar:
-
Avoid spine whack tests—they damage geometry
-
Keep lockface clean and dry
-
Don’t over-lubricate
-
Disassemble carefully to avoid twisting the lockbar
Keep spare screws and hardware handy. A worn pivot screw can cause the blade to shift, affecting lock alignment. You’ll find exact-fit hardware at https://spymodz.com.
Final Thoughts
Learning to tune your Spyderco lockbar is one of the most rewarding mods you can do. A solid, confident lockup turns a good folder into one you trust implicitly.
If you’re unsure or don’t want to risk damaging anything, don’t hesitate to ask a modder (like me) or grab quality, model-specific parts to refresh the lock system.
Got a tricky lockbar issue? Drop it in the comments and I’ll help however I can. Also, let me know what Spyderco topic you’d like me to cover next week!