How to Refinish Your Spyderco Blade for a Factory-Fresh Look
This is the 33st blog of the Spyderco blog series. You can check the other blogs I wrote from here – https://spymodz.com/blogs
By Logan M. Fraser
Custom Knife Modder & Spyderco Parts Specialist
Based in Calgary, Alberta, Canada
When your Spyderco blade starts to show signs of wear—be it scratches, discoloration, or just general dullness—it doesn’t mean its best days are behind it. Refinished properly, your Spyderco can return to a factory-fresh appearance and function. In this guide, I’ll walk you through how to refinish your Spyderco blade step-by-step, using techniques I’ve refined over years of custom knife work. 
Why Refinish Your Spyderco Blade?
Whether you EDC your Para 3 or put your PM2 through hard outdoor use, your blade will eventually collect marks. Here are a few reasons why users refinish their blades:
-
To remove scratches from heavy use.
-
To restore an even finish after sharpening.
-
To change the blade’s aesthetic (e.g., from satin to stonewashed).
-
To preserve resale value.
Refinishing isn’t about hiding wear—it’s about bringing new life to a quality tool. And unlike a simple sharpening, blade refinishing gets into the cosmetics.
Important Reminder 
Before we dive in, be aware that refinishing a blade can void factory warranties and remove factory-applied coatings. Proceed only if you’re comfortable with voiding warranty coverage or are working with a used blade.
Step 1: Assess the Blade’s Condition
Before grabbing any sandpaper or tools, inspect the blade under natural lighting:
-
Identify deep scratches vs. surface abrasions.
-
Check for pitting or corrosion.
-
Determine if the blade has a coating (DLC, black oxide, etc.).
If your blade has a factory coating, you may need to strip it completely to achieve an even finish. Chemical strippers like Citristrip are commonly used for this purpose. Always follow safety protocols.
Step 2: Disassemble the Knife (If Needed)
While you can refinish a blade while it’s still assembled, I highly recommend disassembling your Spyderco if possible. This prevents refinishing materials from getting into the pivot area or affecting liners.
You’ll need:
-
Torx driver set (T6, T8 usually)
-
Soft workspace (mat or towel)
-
Small container for screws
If your screws are stripped or missing, replacement kits are available at https://spymodz.com — these match OEM specs for a secure fit.
Step 3: Choose Your Finish Type
Not all refinishing is the same. Here are a few of the most common blade finish types:
 Satin Finish
-
Achieved by sanding in a single consistent direction.
-
Offers a clean, professional look.
-
Good for EDC blades.
 Stonewashed Finish
-
Achieved with a vibratory tumbler and abrasive media.
-
Hides scratches and fingerprints well.
-
Great for rugged utility blades.
 Acid Wash / Forced Patina
-
Combines chemical darkening and stonewash.
-
Creates a worn, tactical look.
-
Works especially well on high-carbon blades like those in the Spyderco K390 line.
Each of these methods requires different tools and approaches, which we’ll dive into below.
Step 4: Sanding for a Satin Finish
If you’re after that fresh-from-the-factory satin look:
What you’ll need:
-
Wet/dry sandpaper (start with 400 grit, up to 1000 or 1500 grit)
-
Water or WD-40 for lubrication
-
Backing block (wood or hard rubber)
Technique:
-
Start sanding with the 400 grit paper, moving only in one direction—usually spine to edge.
-
Continue refining with higher grit papers.
-
Keep the surface clean to avoid embedding grit.
Consistency is key. Don’t sand in circles or switch directions. A uniform stroke makes all the difference.
Step 5: Stonewashing Your Spyderco Blade
Tools Required:
-
Vibratory tumbler
-
Ceramic or stainless steel tumbling media
-
Dish soap
-
Water
Steps:
-
Place blade and media in tumbler.
-
Add a few drops of dish soap and enough water to cover the contents.
-
Tumble for 1–2 hours for a light stonewash; longer for a more rugged look.
-
Rinse and dry thoroughly.
This process is a favorite among modders because it conceals future scratches and creates a unique character on the blade.
Step 6: Acid Wash or Patina (Optional)
Want a darker or vintage-style finish?
Materials:
-
Ferric chloride (available at electronics stores)
-
Acetone
-
Gloves & eye protection
How-To:
-
Clean the blade thoroughly with acetone.
-
Submerge it in ferric chloride for 5–15 minutes.
-
Neutralize with a baking soda solution.
-
Follow with a light stonewash if desired.
Be cautious with this method—it can dull logos or etching and react differently based on steel type.
Step 7: Reassembly and Lubrication
Once your finish is complete, reinstall the blade carefully:
-
Use a quality pivot lubricant such as KPL or Nano-Oil.
-
Torque screws evenly to avoid blade misalignment.
-
Don’t forget to Loctite pivot screws if needed.
If you misplaced or stripped a screw, you can find direct-fit replacement hardware and washers on https://spymodz.com. These parts are specifically designed for compatibility with popular Spyderco models.
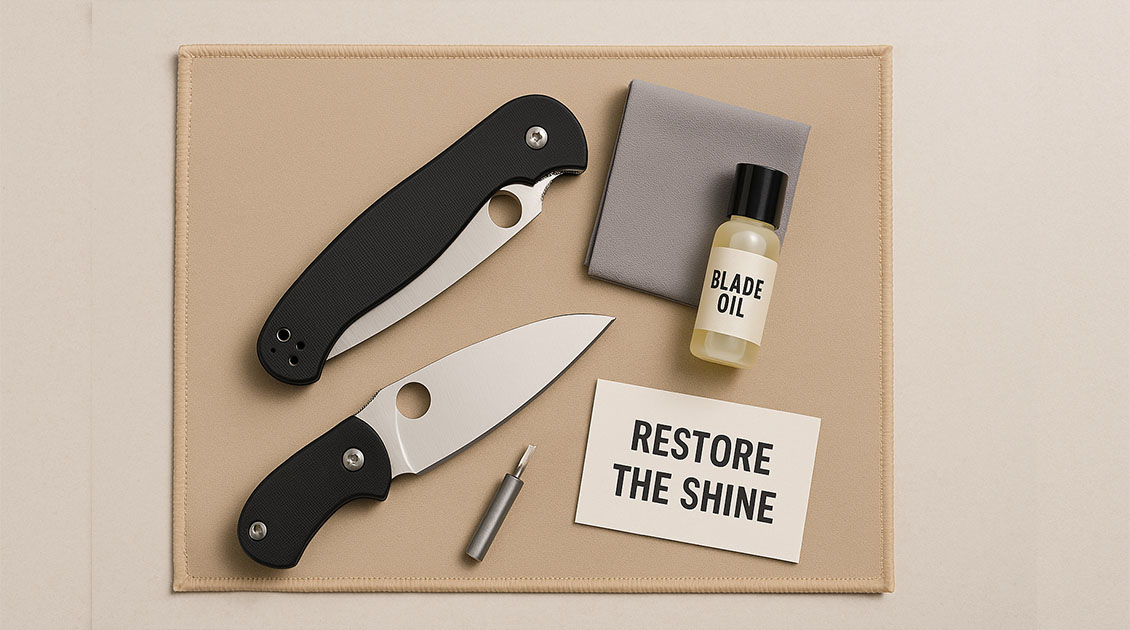
Bonus: Blade Coatings and Protective Treatments
After refinishing, protect your work:
-
Apply a thin coat of mineral oil or EDCi formula.
-
For high-carbon steels like M4 or 1095, consider Renaissance Wax for corrosion resistance.
These treatments will keep your refinished blade looking great longer and reduce future maintenance.
Final Thoughts
Refinishing a Spyderco blade is both an art and a practical skill. It allows you to extend the life of a knife, tailor its aesthetic to your taste, and learn more about how the steel performs under your hands. 
Whether you’re doing it to revive a beat-up Delica or to prep a custom project, I hope this guide gave you the clarity and confidence to start.
If you’re looking for replacement parts like screws, washers, or backspacers for your next mod, check out https://spymodz.com. I make sure everything listed there is something I would (and do) use myself.
Got a question about blade refinishing, or want to share your results? Drop it in the comments!
Also, let me know what you’d like to learn about next week in the world of knives!